Captions (FCC/SDH)
 Subtitles
 Video Description (AD)

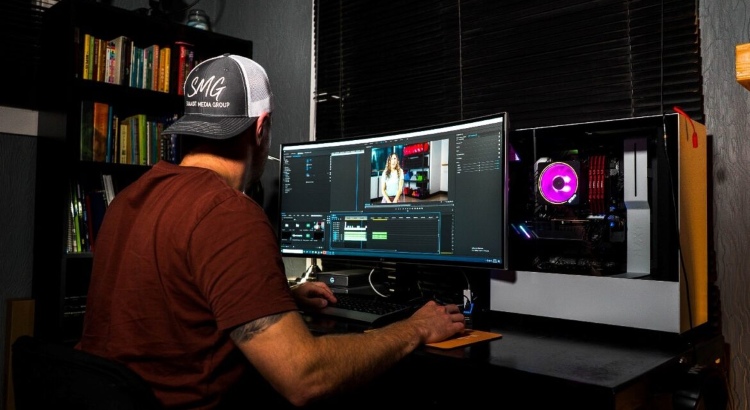
How to Add Subtitles and Captions in Sony Vegas: A Step-by-Step Guide
Enhancing your video projects with subtitles and captions can make your content accessible to a wider audience and improve viewer engagement. According to a 2023 study, 69% of people watch videos without sound in public places (Verizon Media, 2023). Subtitles are not just helpful for those who are deaf or hard of hearing—they also support non-native speakers and general viewers who prefer muted playback.
Why Use Subtitles and Captions in Videos?
- Improve accessibility for people with hearing impairments
- Boost audience retention, as viewers can follow videos in noisy or quiet environments
- Enhance comprehension for non-native speakers
- Increase engagement and watch time
- Help with SEO by making video content readable by search engines
Getting Started: Subtitling in Sony Vegas
Step 1: Open or Create a New Project
- Launch Sony Vegas on your computer.
- Click on 'File' in the top-left corner.
- Select 'New' to start a fresh project or 'Open' to work with an existing one.
Step 2: Import Your Video
- Click 'File' and select 'Import,' then choose 'Import Media.'
- Browse your folders and select the video file.
- Click 'Open.' Your video will appear in the 'Project Media' panel.
- Drag the video to the timeline to begin editing.
Step 3: Add and Edit Subtitles Manually
- Go to the 'Media Generators' tab in the editing panel.
- Under 'All,' look for 'Titles & Text' or the 'PrototypeTitler' option.
- Drag your desired subtitle style onto the timeline and position it above your video track.
- In the editing window, type your subtitle or caption text. Adjust placement, size, font, color, and transparency as needed.
- Repeat the process for each line of dialogue or section needing a subtitle.
Step 4: Save and Align Your Subtitles
- Save each subtitle block after editing the text and style.
- Align subtitles on the timeline so they sync with the spoken content.
- Play back the timeline to check each subtitle’s accuracy and timing.
Step 5: Import a Caption File (SRT)
If you already have a caption or subtitle file in SRT format, you can import it directly:
- Click 'Insert' in the menu bar.
- Select 'Insert Subtitles from File.'
- In the popup, browse to the SRT file location.
- Leave 'Preset' as default. Click 'OK' to import the captions.
Tip: SRT files are widely accepted and can be edited with basic text editors (learn more about SRT files).
Step 6: Preview and Adjust Captions
- Click on the 'Overlays' menu in the right panel.
- Select your preferred caption type, typically 'CC1' for main language captions.
- Keep the 'Overlays' button pressed so subtitles show during playback, helping you check timing and appearance.
Advanced Caption Editing in Sony Vegas
Customize Caption Styles
- Modify font size, color, and background for better readability.
- Use features like roll-up and paint-on text for dynamic subtitles.
- Add effects such as italics or color changes for emphasis.
- Control properties like transparency and text alignment using markup language in the caption editor.
Edit Existing Captions
- Hover over the timeline and open the 'Insert' menu.
- Select 'Command' to open the 'Command Properties' dialog, or press 'C' on your keyboard to create a new marker.
- Double-click a marker to edit it or drag it along the timeline to change sync points.
- Type markup commands in the 'Comment' box to adjust style and format.
- Edit the text under the 'Parameter' field as needed for content changes.
Export Your Subtitled Video
- When editing is complete, select 'File' from the top menu.
- Click 'Render As' to choose the video destination, file name, and format (like MP4).
- Check the box for 'Save project markers in media file' to ensure captions embed in the export.
- Press 'Render' and wait for your video to finish processing. Your captions will now be part of your video file.
Tips for Effective Subtitling
- Keep sentences short and clear for easy reading.
- Ensure subtitles do not cover important visuals.
- Use a large, readable font and high-contrast colors.
- Check for spelling and grammar mistakes to maintain professionalism.
- Test the final video to ensure subtitles are in sync throughout.
Save Time with Professional Transcription and Captioning
Manually creating subtitles and captions in Sony Vegas can be time-consuming, especially for long videos or frequent content releases. Many creators use professional transcription services to speed up the process and guarantee accurate results.
If you want a faster and cost-effective approach, consider solutions like automated transcription or an AI transcription subscription. GoTranscript also offers easy subtitling services and closed caption services for creators and companies.
Choose GoTranscript for:
- Accurate, fast human and AI-generated subtitles
- Simple ordering and affordable transcription pricing
- Reliable proofreading and translation services
- Convenient online tools—order transcription or order captions in just a few clicks
Conclusion
Adding subtitles and captions in Sony Vegas helps your content reach more people and creates a better viewing experience for everyone. While the manual process is straightforward, it can be repetitive and time-consuming for longer videos. For greater accuracy, efficiency, or support with large projects, GoTranscript offers full-solution subtitling and captioning services tailored to your needs.