How to Add Text, Captions, and Subtitles in Premiere Pro: A Step-by-Step Guide
Adding text, captions, and subtitles in Premiere Pro is an essential skill for making videos clear and accessible. This guide explains when and how to add text in Premiere Pro, plus the role of captions and subtitles. Each version of Premiere Pro may differ slightly, but the core steps remain the same.
Why Add Text in Premiere Pro Videos?
Text in videos helps viewers understand the story, characters, and important information. Here are key reasons to add text to your video projects:
- Dialogue: Highlight text conversations or emphasize spoken lines.
- Time and Location: Show timestamps and places to guide viewers through the video.
- Opening Credits: Introduce the video and creative team members.
- Title Sequences: Establish the theme and creative direction.
- Closing Credits: Give credit to everyone involved in the project.
Captions and subtitles are also important. While both display text on the screen, each serves a different purpose:
- Captions: Help viewers who cannot hear audio by presenting spoken words and sounds.
- Subtitles: Assist those who can hear but do not understand the language, providing translated or transcribed dialogue.
How to Add Text in Premiere Pro

Step 1: Select the Type Tool
Open the Essential Graphics panel and select the Type Tool. This tool makes it easy to add and edit text on your video.
- Go to Window > Tools.
- Click and hold the Type Tool icon for both horizontal and vertical text options.
Step 2: Insert Your Text
Click anywhere in the Program Panel to create a text box. Begin typing your desired text.
Step 3: Customize Your Text
Use the Essential Graphics panel to adjust:
- Font
- Size
- Color
- Position
Step 4: Add Custom Fonts
If you need a new font:
- Go to the font dropdown menu and select Add Adobe Fonts.
- Pick and activate desired fonts from the Adobe Fonts library.
- Any compatible font you install on your computer also becomes available in Premiere Pro.
How to Add Rolling Credits in Premiere Pro

Rolling credits appear at the end of many videos. Adding them is simple:
- Open Essential Graphics.
- Browse for premade title templates (animated or still).
- Create and place your text on the timeline.
- Go to Effect Controls and select Transform.
- Click the stopwatch next to Position to add a keyframe.
- Move the playhead to where you want credits to finish and place the text's final position.
- Edit further in the Essential Graphics panel using the Edit tab.
How to Create Text Templates in Premiere Pro
Save time by making re-usable text templates:
- Select your text, go to Graphics, then click Export As Motion Graphics Template and save it.
- Import saved templates via File > Import whenever you need them.

How to Add Captions and Subtitles in Premiere Pro
Captions and subtitles help make your videos accessible to wider audiences. The steps differ slightly from adding regular text.
Choosing Caption Formats
When you select File > New > Captions, you’ll see four main formats:
- Open Captions: Always visible, burned into the video.
- Teletext: Commonly used in Europe.
- CEA-708: Supports newer features and many devices.
- CEA-608: Works on most older devices, but less advanced.
Editing Captions and Subtitles
- Project Browser: Holds your files.
- Captions Panel: Contains tools for editing captions.
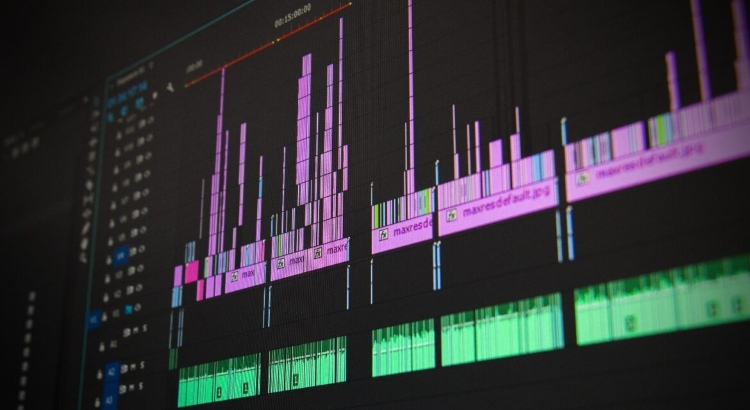
- Timeline: Where you place and adjust captions in your video.
Steps for Adding Captions/Subtitles
- Go to the Captions tab.
- Click Sequence > Captions > Add New Caption Track.
- Pick your caption format (CEA-708 is easiest for most).
- A blank caption layer appears above the timeline.
Editing and Customizing Captions
- Press + in the Captions Panel to add a caption.
- Type your caption text.
- Adjust the colored block in the timeline to set start and end times.
- Repeat with the + button to add more captions.
You can customize further by using the Essential Graphics panel:
- Change font styles, background, alignment, and color.
- Use the Caption Editor's return key for multi-line captions.
Importing and Exporting Caption Files
To work with translators or use captions from other projects:
- Export captions: Click the three dots in the Captions panel > Export XML > Choose filename and location.
- Import captions: In the Captions tab, click Import Captions and select your SRT or caption file.
Why Subtitles and Captions Matter
Captions and subtitles improve accessibility and boost the reach of your video content:
- Videos with subtitles see up to 15% higher engagement rates (2023).
- Captions support viewers who are deaf or hard of hearing.
- Subtitles enable translations, helping you reach a global audience.
- Search engines can index subtitle files, making your videos easier to find.
Streamlining Your Workflow with Professional Services
Adding text, subtitles, and captions can take time. For fast, accurate results, consider professional solutions. GoTranscript's transcription services help you create captions and subtitles efficiently, and their automated transcription and AI transcription subscription options speed up your workflow.
- Need subtitles? See GoTranscript's subtitling services.
- For accurate captions, use closed caption services.
- Edit transcripts easily with transcription proofreading services.
- Translate audio and text with audio translation and text translation services.
- Check out affordable transcription pricing and captioning services pricing.
- Ready to get started? Order transcription or order captions today.
With GoTranscript, you can produce professional captions, subtitles, and translations in less time and with more accuracy. This makes your videos accessible to everyone and easier to discover online.


 Verified Order