 Captions (FCC/SDH)
 Subtitles
 Video Description (AD)

The Importance of Lifesize Video Conference Transcription
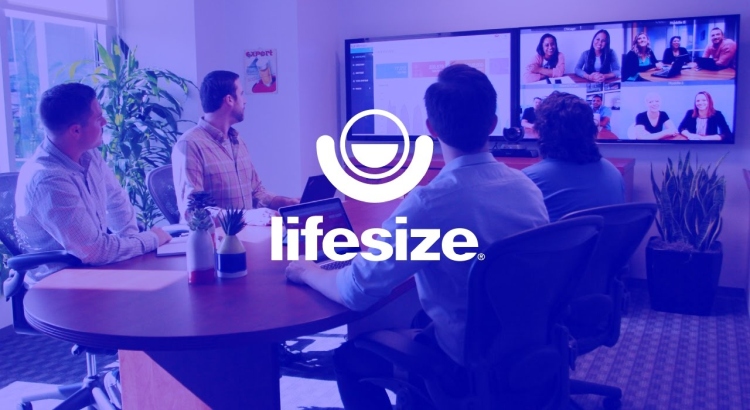
Video conferencing has become vital for modern businesses. Tools like Lifesize give companies a way to communicate with clients and teams around the globe. The COVID-19 pandemic led to a 400% rise in remote meetings between 2020 and 2021 (Gartner, 2021), making reliable video conferencing solutions even more essential.
While free platforms like Zoom and Google Meet are widely used, Lifesize offers many businesses:
- Higher video and audio quality
- Fewer technical disruptions
- A more professional image for customers and partners
However, holding video meetings is just the first step. To keep a record of what was discussed, transcribing these meetings is now standard best practice.
Why Transcribe Lifesize Video Conferences?
Transcribing video meetings gives teams a valuable, detailed written record. Instead of replaying hours of footage, anyone can quickly search the transcript by keyword or scan for key points. Meeting transcripts also help in:
- Creating summaries for future reference
- Sharing information with team members who missed the call
- Improving accessibility for deaf or hard-of-hearing employees
- Meeting ADA (Americans with Disabilities Act) requirements for equal access
Quality transcription boosts communication, meets legal standards, and saves time.
How to Transcribe a Lifesize Video Conference: Step-by-Step
Step 1: Record Your Lifesize Meeting
First, make sure your video conference is recorded:
- Start your Lifesize meeting as usual.
- Click the small white circle near video and sound controls to begin recording.
- When the meeting is over, click the red square to stop recording. The file will save automatically.
- Check the “Recordings” tab in your dashboard to find or download the meeting file.
After saving your recording, you can share it with your team or upload it for transcription.
Step 2: Choose a Type of Transcription Service
Meeting recordings can be transcribed in two ways:
- Automated transcription: Fast and affordable but often less accurate, especially with multiple speakers, strong accents, or background noise. Accuracy rates can drop below 85% (Stanford, 2020).
- Human-based transcription: More reliable and accurate, with professional transcribers handling the formatting and details. These services consistently deliver 99% accuracy.
Consider automated transcription for speed, but human transcription services are best for meetings that need high accuracy.
Step 3: Create an Account and Upload Your Recording
After choosing a transcription provider, follow these steps:
- Sign up for an account with your email or a social platform like Google.
- Upload your Lifesize recording through a secure website interface. Many services also accept file-sharing links, such as Dropbox or Google Drive.
Look for services with affordable transcription pricing and quick turnaround times.
Step 4: Add Captions or Subtitles
Captions make your video accessible. They show spoken words and important sounds on the screen. Adding captions or subtitles helps team members with hearing loss and improves overall comprehension.
Choose a provider with a track record, such as closed captioning services by GoTranscript. Captions cover:
- All spoken content
- Relevant sound effects
- Speaker identification
Subtitles are helpful for translating meeting content for global teams. If you have international members, consider subtitling services or translation services.
Step 5: Ensure Security, Accuracy, and Custom Formats
Data security is vital when transcribing business meetings. Choose a service that:
- Protects files with strict confidentiality agreements
- Lets clients remove their documents any time
- Delivers at least 99% accuracy in transcripts by using professional transcribers and proofreaders
High-quality companies, like GoTranscript, offer transcription proofreading for added precision. You can request transcripts in formats like MS Word, PDF, or others—just specify your preference during upload.
Tips for Getting the Best Lifesize Meeting Transcripts
- Test your audio setup before meetings to ensure clear sound quality.
- Encourage only one person to speak at a time.
- Share meeting agendas in advance to help transcribers follow along.
- Clarify technical terms or spellings during the call for better transcript accuracy.
Conclusion: Streamline Your Lifesize Video Conference Transcription
Lifesize video conferencing delivers exceptional clarity and reliability for business communication. By recording and using high-quality transcription services, your team saves time and gains a permanent, searchable record of important conversations.
GoTranscript specializes in AI transcription subscriptions, closed captioning, subtitling, accurate audio translation, and strict data security. With a 99% accuracy promise and various delivery formats, you can trust GoTranscript to handle your Lifesize meeting transcriptions so you can focus on what matters most.
Order your Lifesize meeting transcription or request captions today and make your meetings more accessible, searchable, and valuable for your business.


